Quick takeaways
|
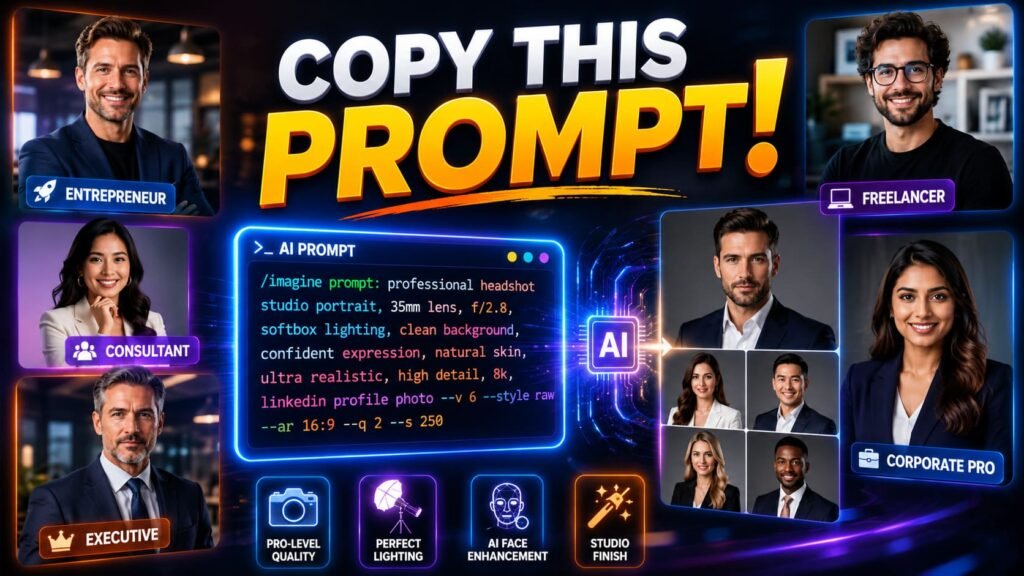
Copy a headshot prompt from a list, run it, and the result looks fine. Try to tweak it for your own situation, change the outfit or the setting, and suddenly everything falls apart. The lighting goes flat, the face looks waxy, the whole thing reads as obviously generated.
That happens because most people copy prompts without understanding what each piece is actually doing. They swap one word and leave four others untouched, not realizing those four words were carrying most of the weight. Once you see the actual structure underneath a good headshot prompt, writing your own becomes a lot less like guessing.
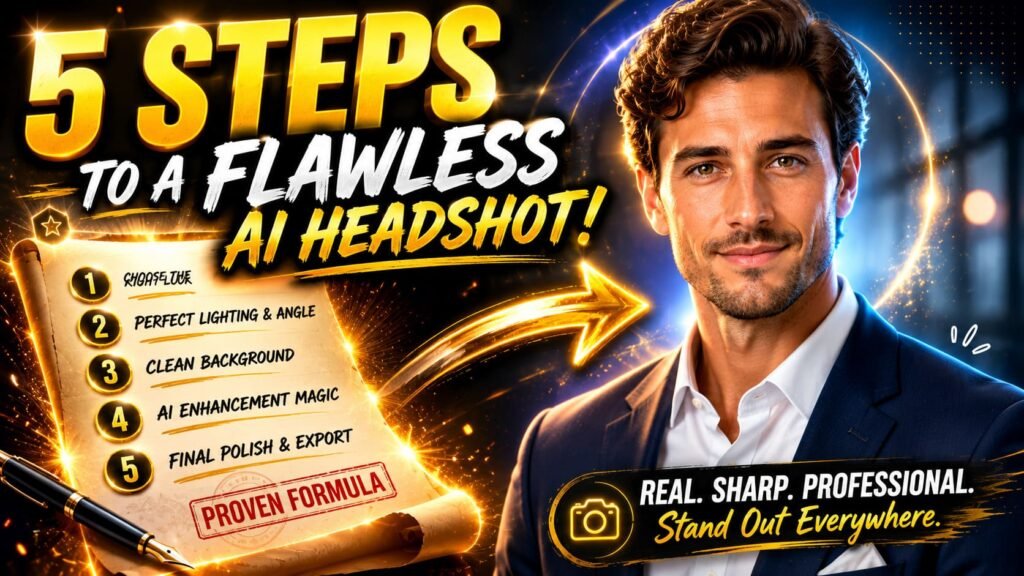
There are exactly five parts to a headshot prompt that works. Miss one and you can usually tell. Get all five and the difference between your version and a stock photo starts to disappear.
Why most headshot prompts fall apart
A real photographer doesn’t show up to a shoot and just point a camera. They’re making decisions before they ever press the shutter: who’s in the frame, what mood they’re going for, what the subject is wearing, what’s behind them, and exactly how the light should fall. Skip any one of those decisions and the photo suffers, even with great equipment.
AI image models work the same way, except the camera and the photographer are both replaced by your words. If you don’t specify the lighting, the model picks something average. If you don’t describe the background with any detail, you get a generic blur that looks like every other AI headshot online. The model isn’t being lazy. It’s filling gaps you left open with whatever’s statistically common, which is exactly why so many AI headshots end up looking interchangeable.
📚 In plain English A vague prompt gives the model nothing to anchor to, so it defaults to the most average version of whatever you asked for. A specific prompt gives it real decisions to make, which is why detail beats length almost every time. |
Part one: subject and identity
This is where you anchor the basics. Age range, hair style and length, build. Not a paragraph of physical description, just enough that the model has something concrete to work from instead of a blank slate.
“A woman in her early thirties with shoulder length dark hair” does more work than you’d expect. Compare that to just “a woman,” which leaves age, hair, and build completely open, and the model fills in whatever’s most common in its training data. That’s usually not what you had in mind.
If you’re uploading a reference photo rather than generating from scratch, this part matters less since the model already has your actual face. In that case, spend fewer words here and more on the parts that follow.
Part two: expression and energy
“Smiling” is doing almost no work. It’s the single most overused word in AI headshot prompts and it’s part of why so many results have that stiff, plastered on grin everyone’s learned to spot from a mile away.
Try something with actual texture instead. “Confident slight smile, warm eye contact” or “calm authoritative expression, relaxed jaw” gives the model an emotional target rather than just a mouth shape to render. The difference shows up immediately, especially around the eyes, which is usually the first place a fake expression gives itself away.
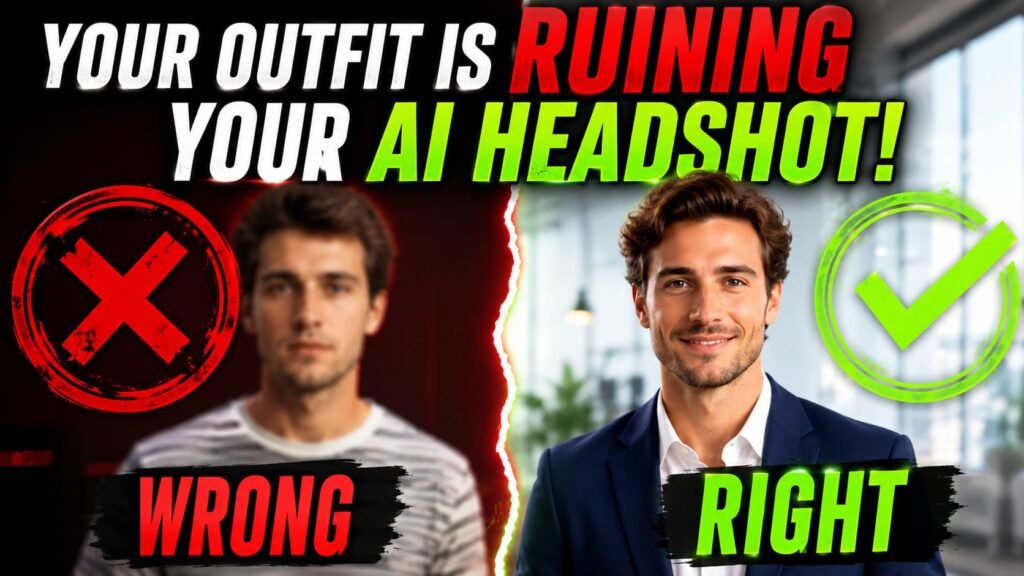
Part three: wardrobe with texture
“Business attire” tells the model almost nothing about how light should interact with the clothing. “Charcoal blazer over a cream silk blouse” tells it exactly how to render the sheen on the silk and the matte texture of the wool, which is the kind of detail that separates a flat illustration from something that looks photographed.
Fabric words are doing more here than people realize. Silk catches light differently than cotton. A structured blazer holds its shape differently than a soft cardigan. Naming the material isn’t decoration, it’s giving the model physics to follow.
| Vague wardrobe word | What to say instead |
|---|---|
| Business attire | Charcoal blazer over a cream silk blouse |
| Professional clothing | Navy quarter zip sweater over a collared shirt |
| Formal outfit | Structured black blazer with a notched lapel |
Part four: background with depth
Just saying “office background” usually produces a flat, evenly focused scene that reads as artificial right away. Real cameras blur backgrounds. Add that word back in and the whole image starts to feel photographed instead of rendered.
“Soft blurred modern office” or “neutral gray background with soft gradient” both work because they tell the model to apply a realistic depth of field, the same optical effect a real 85mm lens produces naturally. Without that instruction, everything in the frame sits at the same level of sharp focus, which is a dead giveaway that no actual camera was involved.
Part five: light and lens
This is the part almost nobody includes, and it’s the one that does the most heavy lifting. “Shot on an 85mm lens, soft key light from upper left, shallow depth of field” is the line that separates a believable portrait from something that looks like a character render from a video game.
You don’t need to know photography to use this part. A short list of phrases does the job: 85mm lens, soft key light, Rembrandt lighting, shallow depth of field, golden hour. Drop one or two of these into any prompt and the realism jumps noticeably, almost regardless of what else you wrote.
The five part formula | |||
|
| ||
|
| ||
| |||
Putting all five parts together
Here’s what it looks like once you stop treating these as separate ideas and write them as one prompt:
Professional headshot of a man in his late thirties with short dark hair, confident relaxed smile, charcoal blazer over a light blue shirt, soft blurred modern office background, warm key light from upper left, shot on an 85mm lens, shallow depth of field, polished not plastic skin.Notice that nothing in there is more than a few words. None of the five parts needs a full sentence. The formula isn’t about writing more, it’s about making sure nothing important got left out. You could write a prompt twice this length and skip the lens instruction entirely, and it would still look worse than this one.
⚠️ Common mistake Padding the prompt with extra adjectives instead of adding the missing parts. “Stunning, breathtaking, ultra realistic professional headshot” doesn’t fix a prompt that’s missing wardrobe or lighting details. It just adds words the model has to ignore. |
Writing your own variations
Once the five parts feel automatic, you can build prompts for situations no list ever covers. Need a headshot for a podcast cover instead of LinkedIn? Adjust part four, since podcast art usually wants a bolder, more saturated background than a corporate photo would. Writing for a creative portfolio instead of a law firm bio? Part three changes completely, structured blazers give way to something more relaxed and personal.
The same five questions work every time. Who’s in the frame. What’s the mood. What are they wearing and what’s it made of. What’s behind them and how blurred is it. And how is the light hitting their face. Answer all five in a sentence or two and you’ve got a working prompt, no list required.
Our guide on how to write AI image prompts that actually work covers this same kind of structural thinking for images generally, if you want to apply it beyond just headshots. And if you’re curious about the broader techniques that make any AI image prompt land better, from negative prompting to style references, the deeper breakdown in our guide to prompt engineering for image generation goes further into territory this formula only touches on.
Common misconceptions about the headshot prompt formula
A few ideas about this formula tend to trip people up once they start using it, so it’s worth clearing them up directly.
Weak prompt versus formula prompt | |
Weak Professional headshot, business attire, office background, smiling, high quality | Formula Headshot of a man in his thirties, confident relaxed smile, charcoal blazer over a light blue shirt, soft blurred office background, warm key light from upper left, 85mm lens, shallow depth of field |
Myth: more detail always means a better result. A 200 word prompt that’s vague about lighting loses to a 20 word prompt that nails all five parts. Completeness beats length every time.
Myth: the formula has to be followed in order. The five parts just need to all be present somewhere in the prompt. Order doesn’t matter to the model nearly as much as coverage does.
Myth: you need photography knowledge to write the lens and lighting part. You don’t need to understand how an 85mm lens actually works. You just need to know that naming it tends to produce realistic depth of field, which is a fact you can borrow without studying optics.
Myth: this formula only works for one AI tool. The five part structure holds up across ChatGPT, Gemini, and Midjourney, even though each tool interprets the details slightly differently. The underlying logic doesn’t change just because the tool does.
Where to go from here
Try rewriting one of your old headshot prompts using all five parts and compare it to whatever you generated before. The difference is usually obvious within one attempt, especially once the lighting and lens language goes in. From there, the formula becomes less of a checklist and more of a habit, the same way a photographer eventually stops thinking consciously about each setting and just knows what a shot needs.
Google’s own documentation on image generation prompting reinforces the same basic idea from their side of the tooling, specific, descriptive prompts consistently outperform short or vague ones. The five parts here are just one practical way to make sure your prompt actually is specific, instead of just sounding like it is.